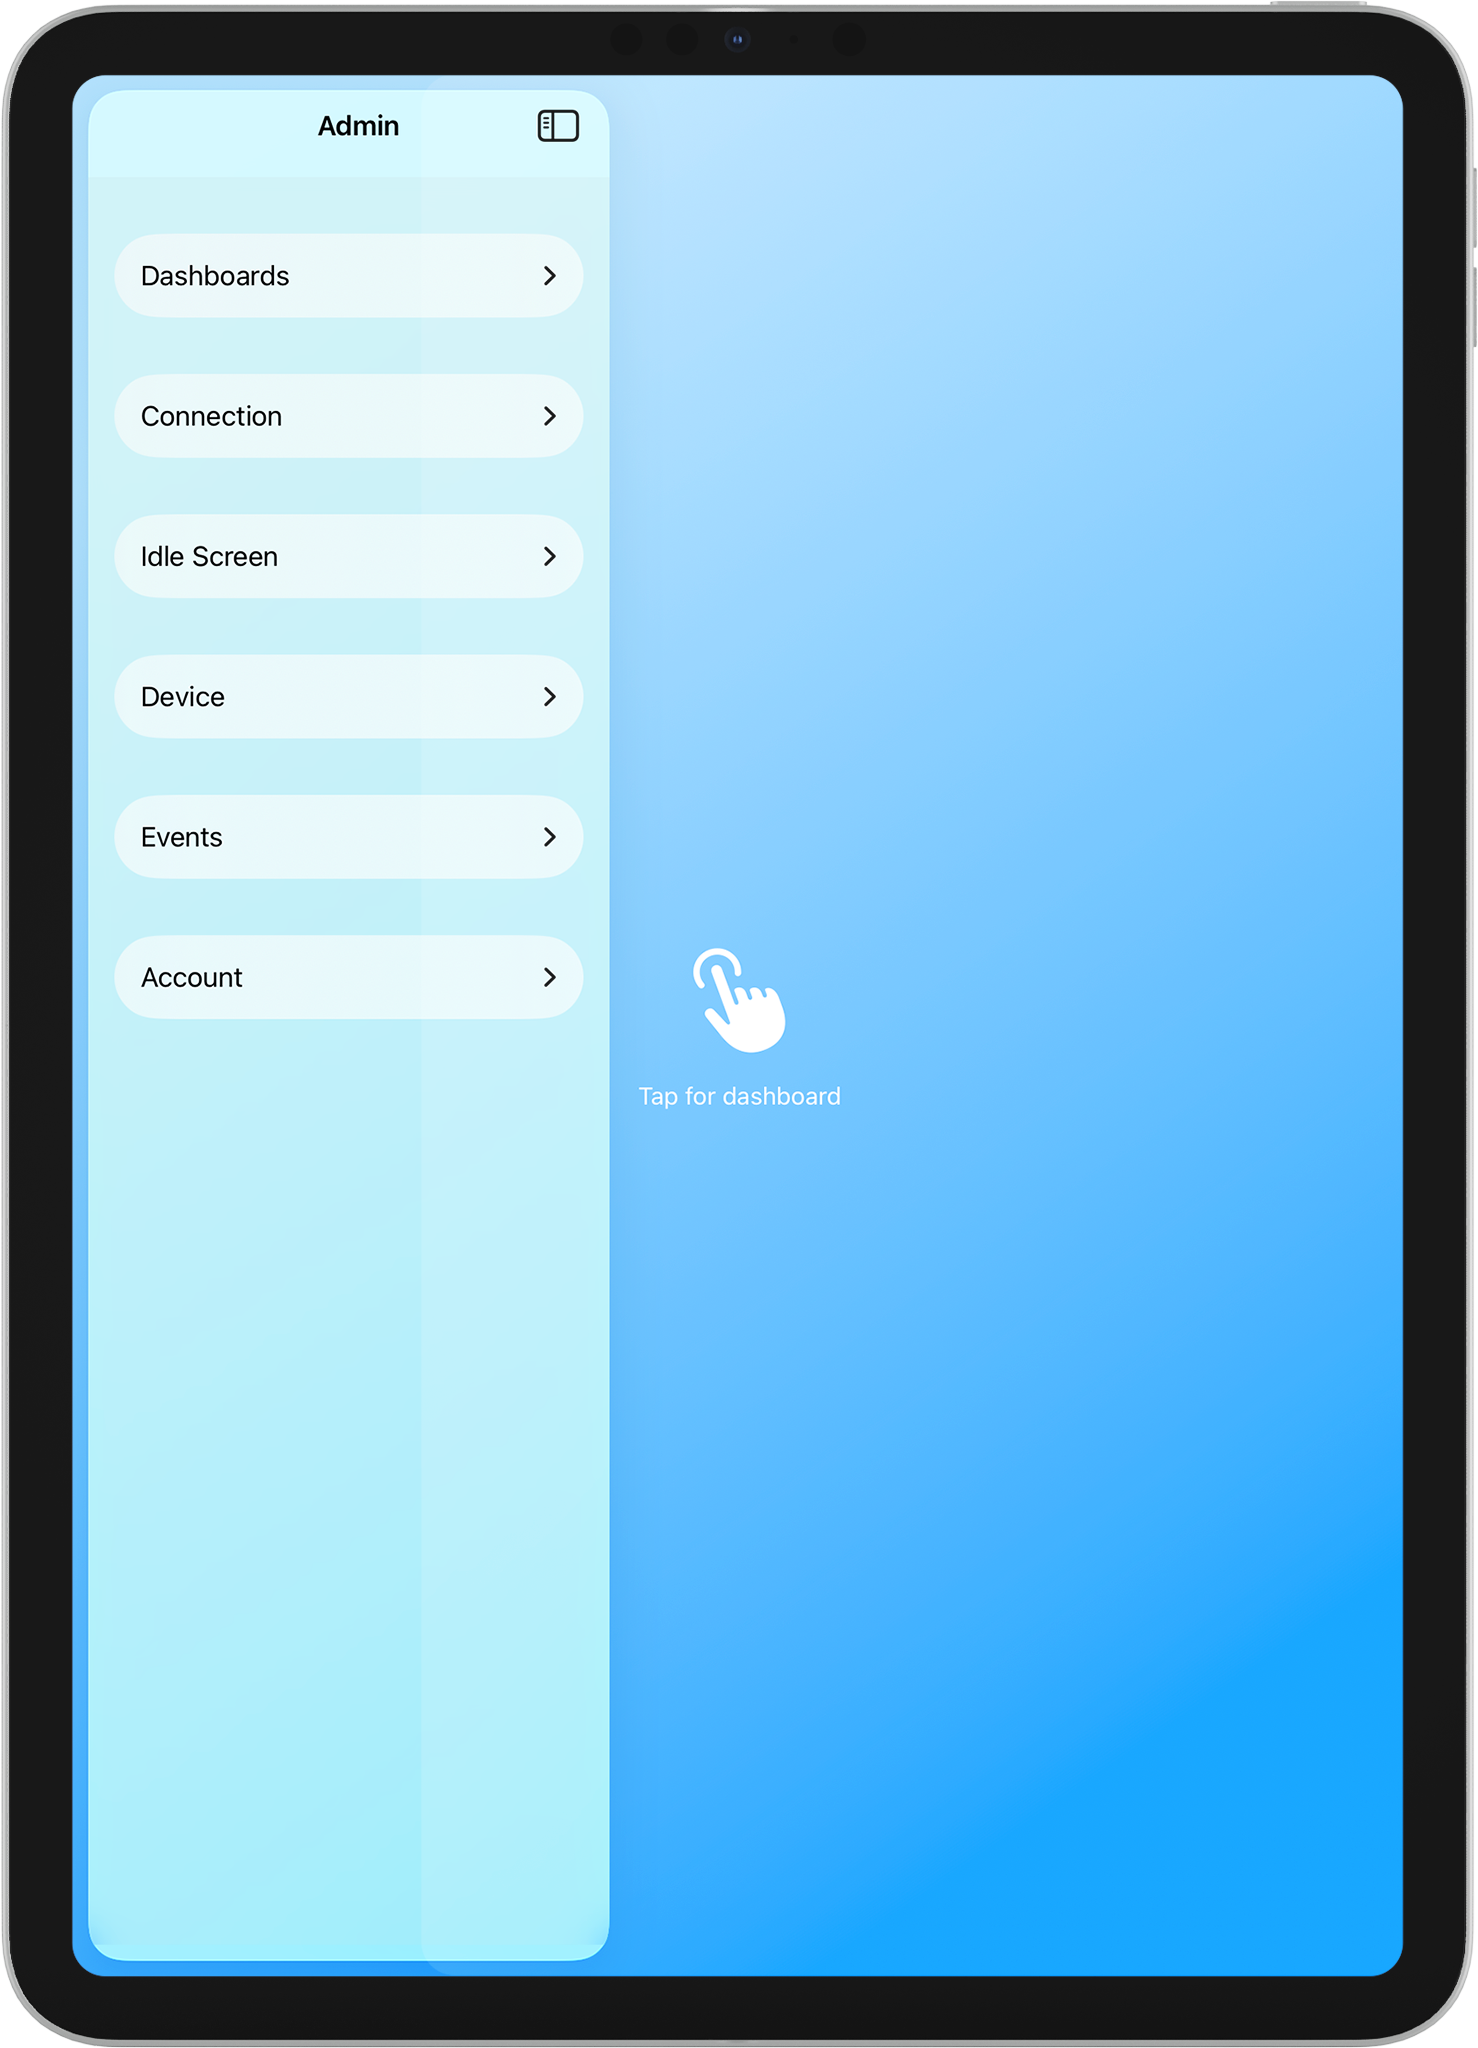
The Admin panel is where you change how the app works: dashboards, connection, Idle screen, device options, events, and account. This article lists each section and what it does; use the links for step-by-step instructions.
What you’ll see #
After you open the Admin panel (swipe from the left edge and enter your PIN or use Face ID/Touch ID if required), a sidebar appears with six main sections. Tap a section to expand it or open its screen. The main content area stays on the right (dashboard or “Tap for dashboard”); tap there or the dashboard icon to close the panel.
Main sections #
Dashboards #
Manage which Home Assistant dashboards the app shows and how they behave: add or edit dashboards, set the primary one, turn Append ?kiosk (HACS Kiosk Mode) on or off, set link navigation, and (with Pro) show the tab bar and its position and dashboard zoom.

[Screenshot: Admin panel with “Dashboards” section expanded, showing Manage dashboards, Primary dashboard, Append ?kiosk, Link navigation, Dashboard zoom.]Optional diagram notation to add to this screenshot:
A. Manage dashboards
B. Primary dashboard
C. Append ?kiosk (HACS Kiosk Mode)
D. Link navigation
E. Dashboard zoom
Connection #
See your remote address (Home Assistant URL), Re-authenticate (sign in again after a password or URL change), and Clear cache (reload dashboard content). Pro users also have Send kiosk events to HA in the Events section.
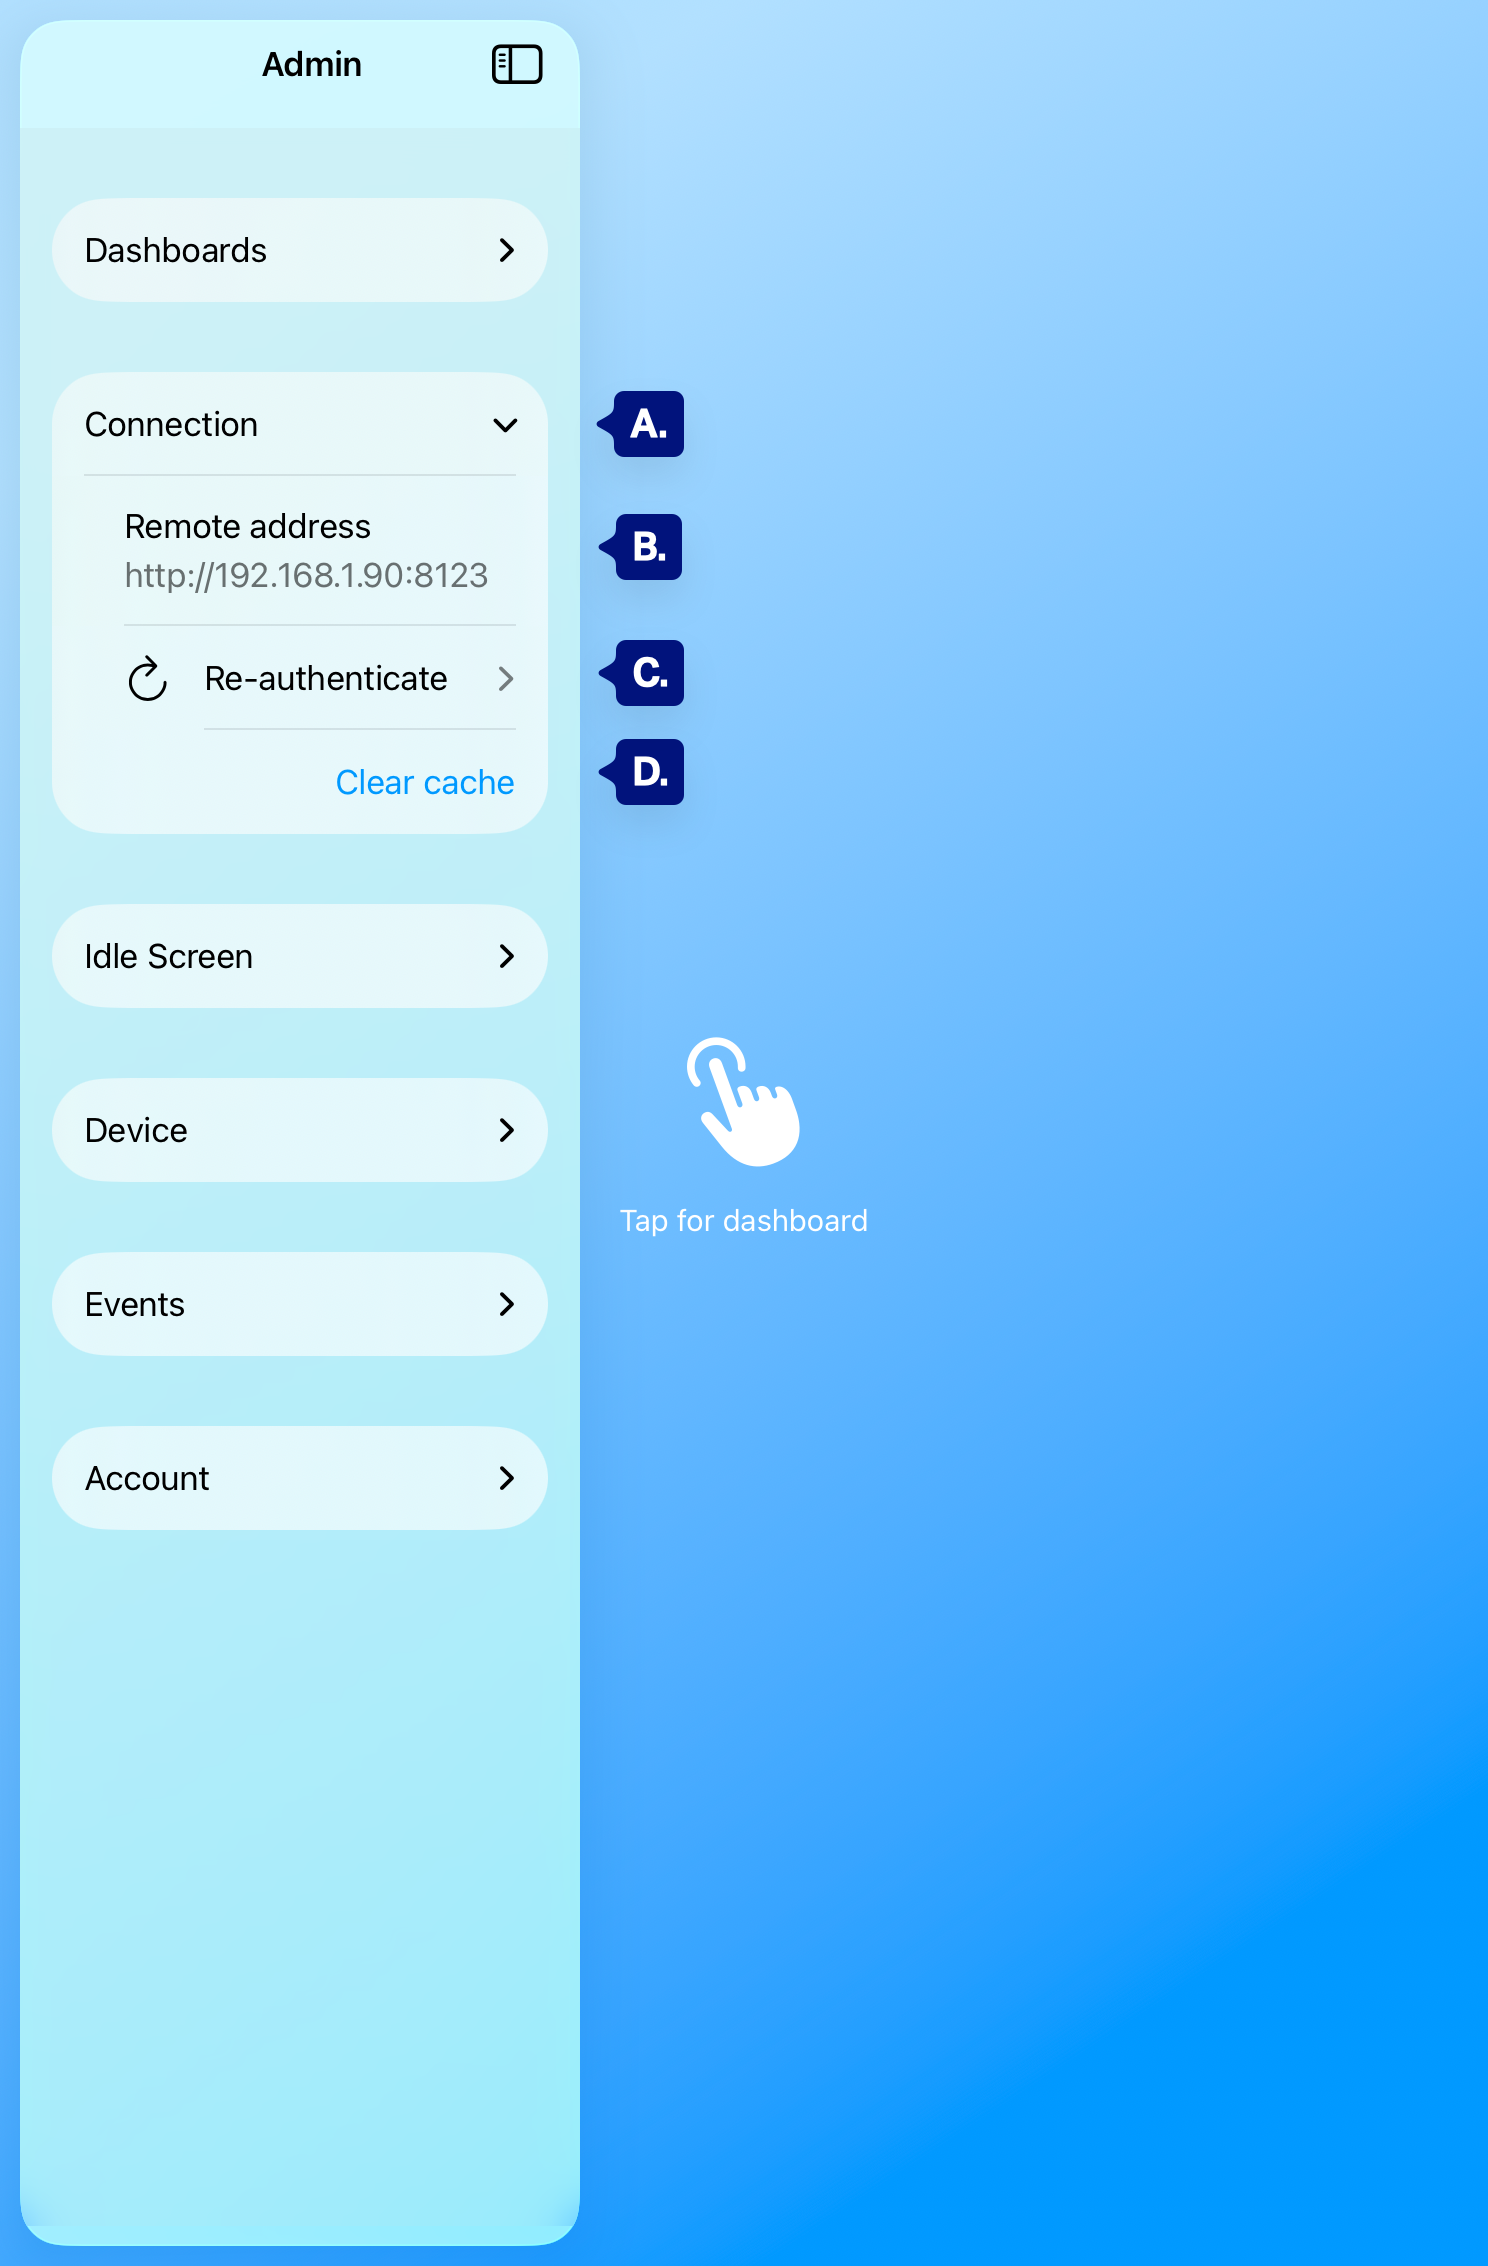
A. Remote address
B. Re-authenticate
C. Clear cache
Idle screen #
Configure the idle/screensaver behavior: Return to primary on wake 1, timeout, Fade to black 1, periodic refresh 1, background (gradient/image), colors, logo, tap text, and prompt alignment.
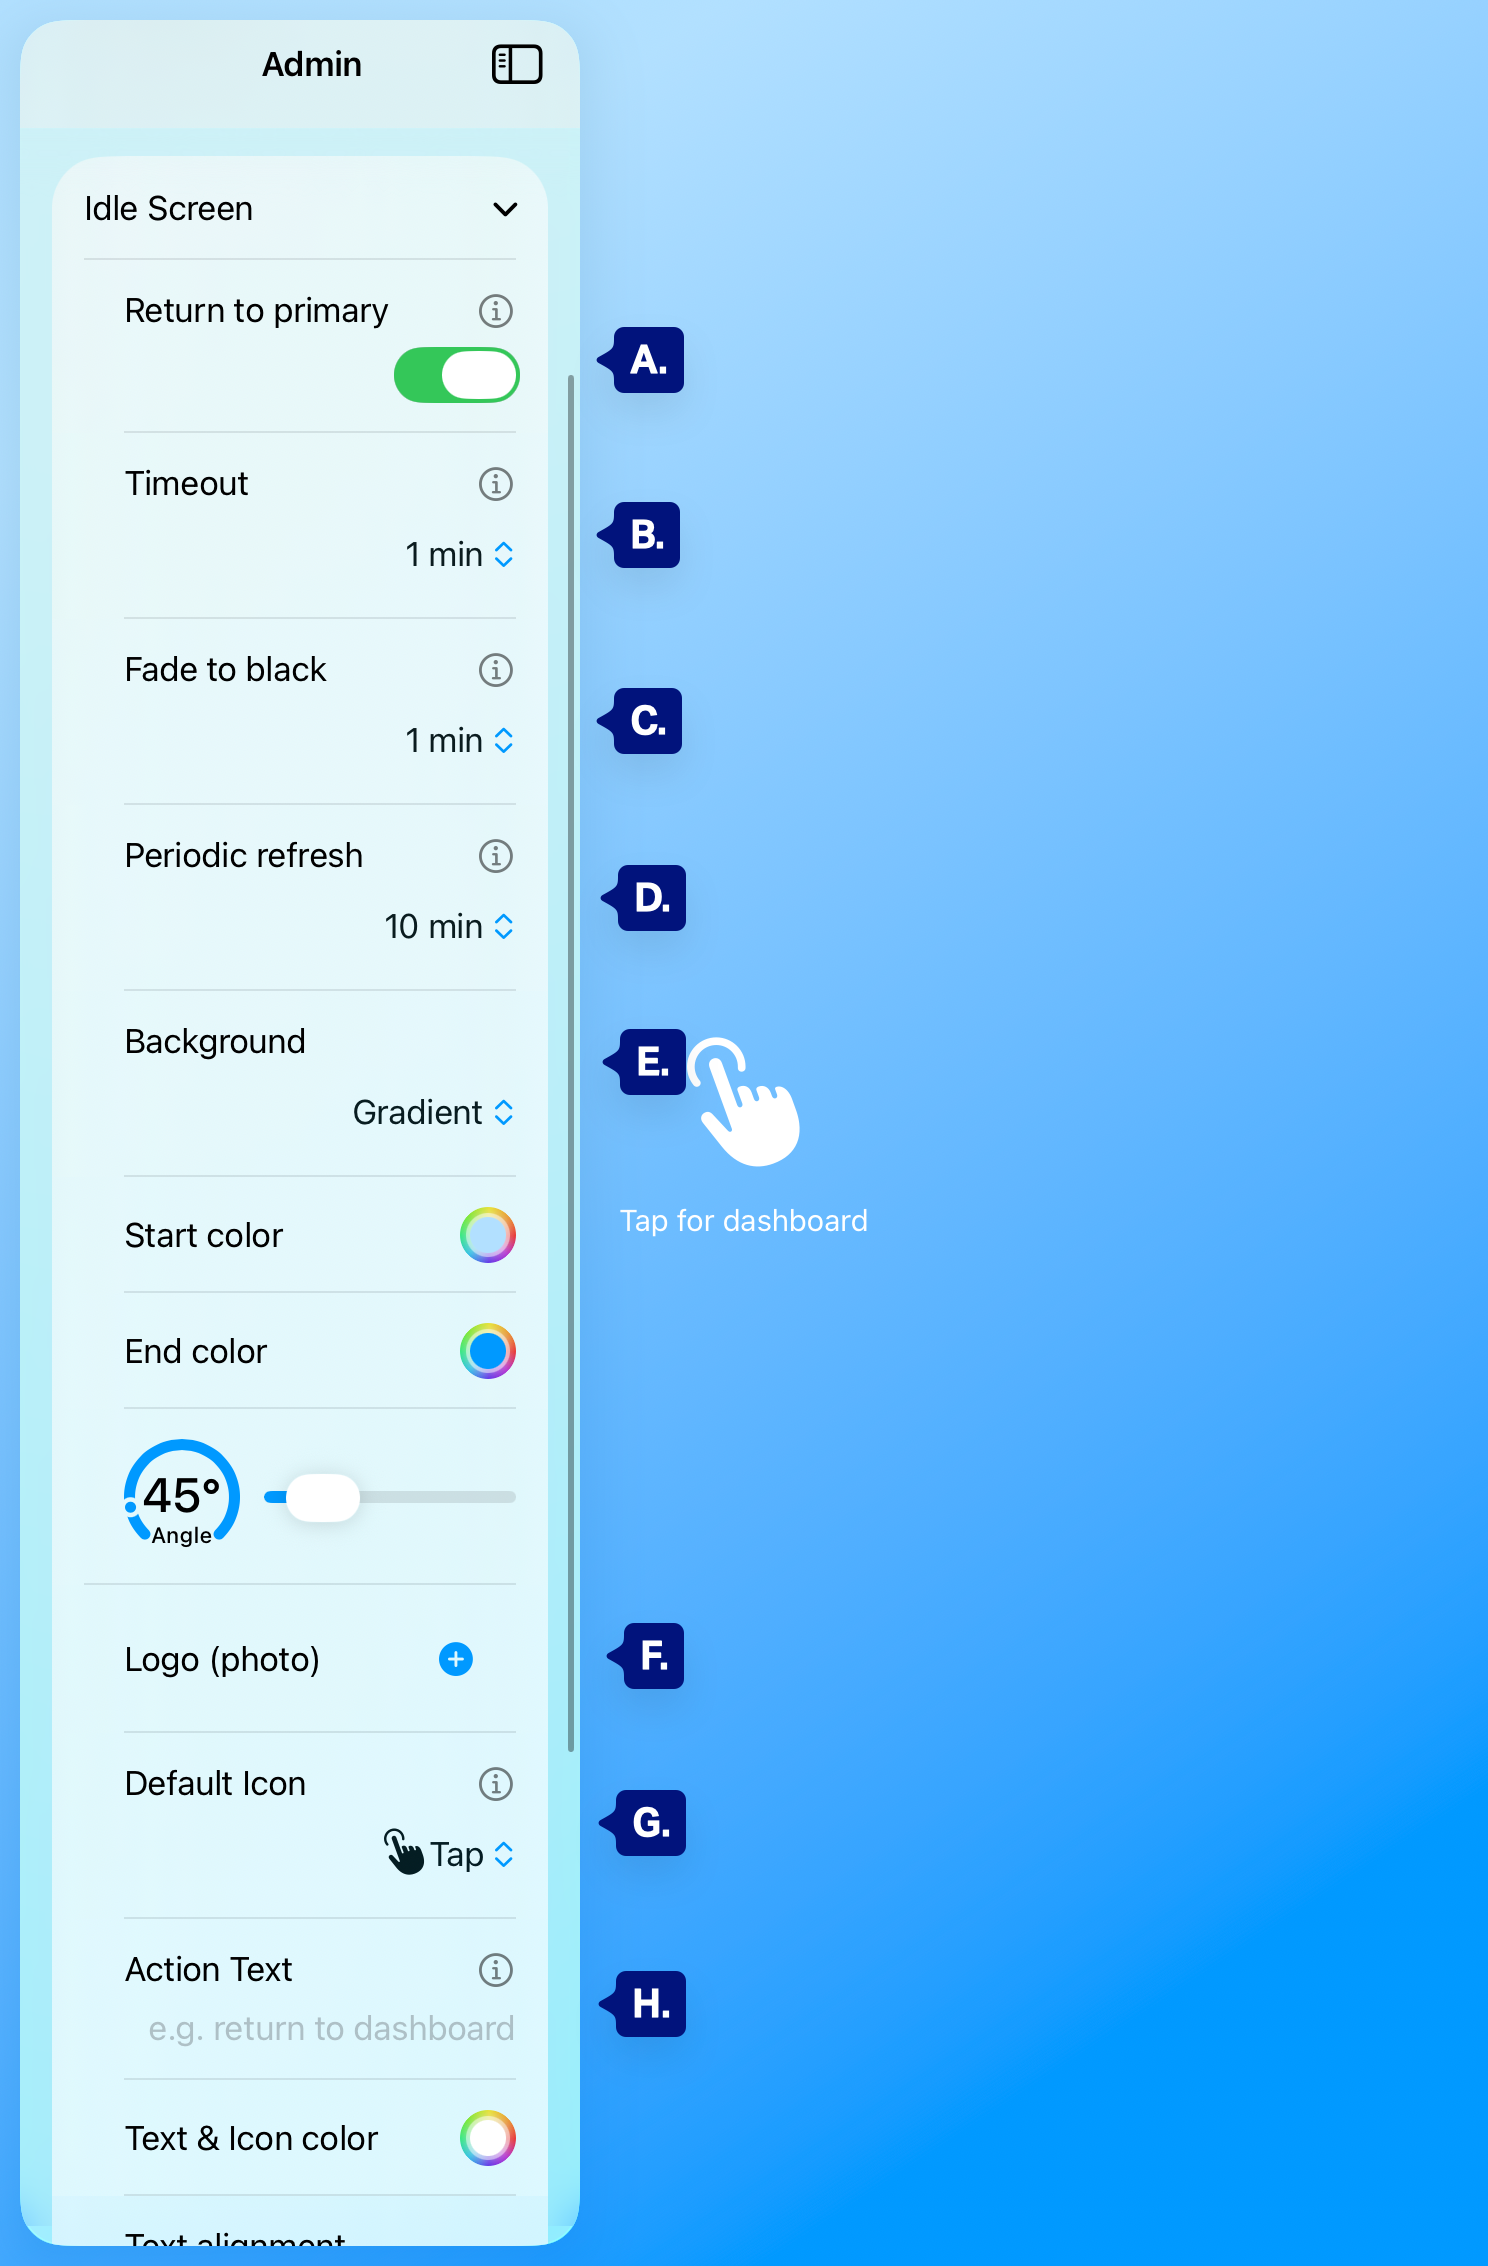
A. Return to primary / Timeout / Fade to black / Periodic refresh
B > H. Background and appearance options. Detailed guide: Idle screen settings.
Device #
Keep screen on and Hide status bar, and open Manage PIN to turn “Require PIN for admin access” on or off and to change your Admin PIN.
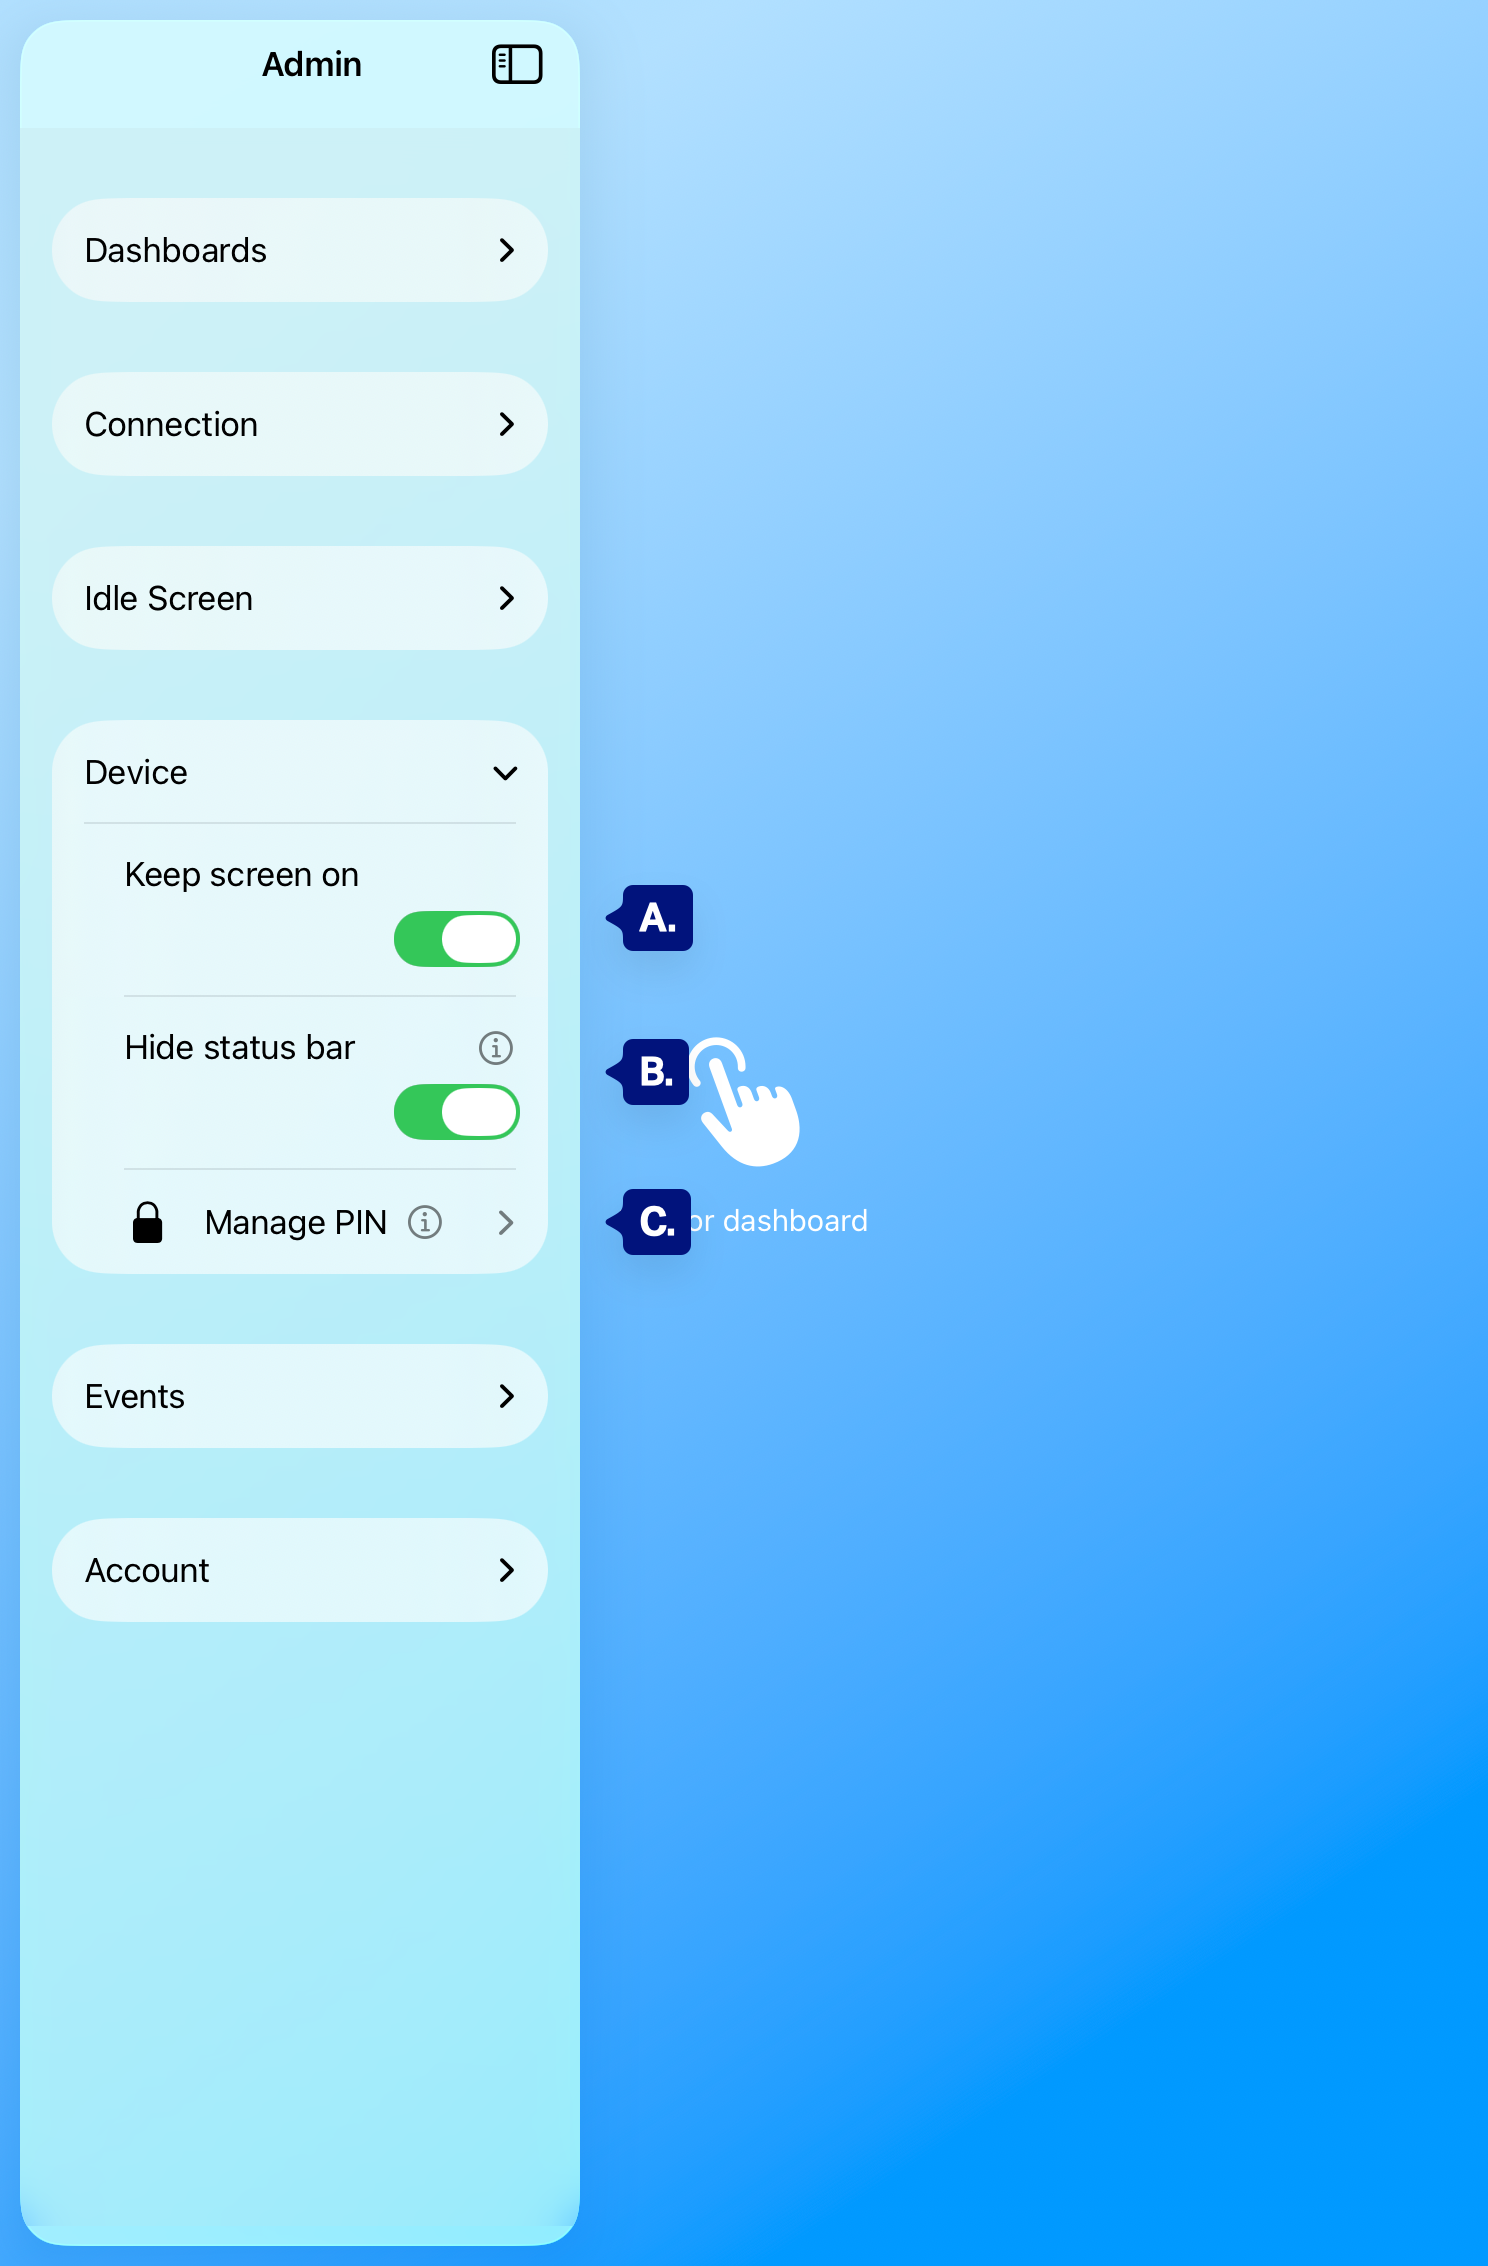
A. Keep screen on
B. Hide status bar
C. Manage PIN. Detailed guide: Device (keep screen on, hide status bar, Manage PIN) and Manage PIN.
Events #
Pro only: Send kiosk events to HA (idle, fade, admin, error) so Home Assistant can run automations. You can also toggle Send analytics to app developer here.
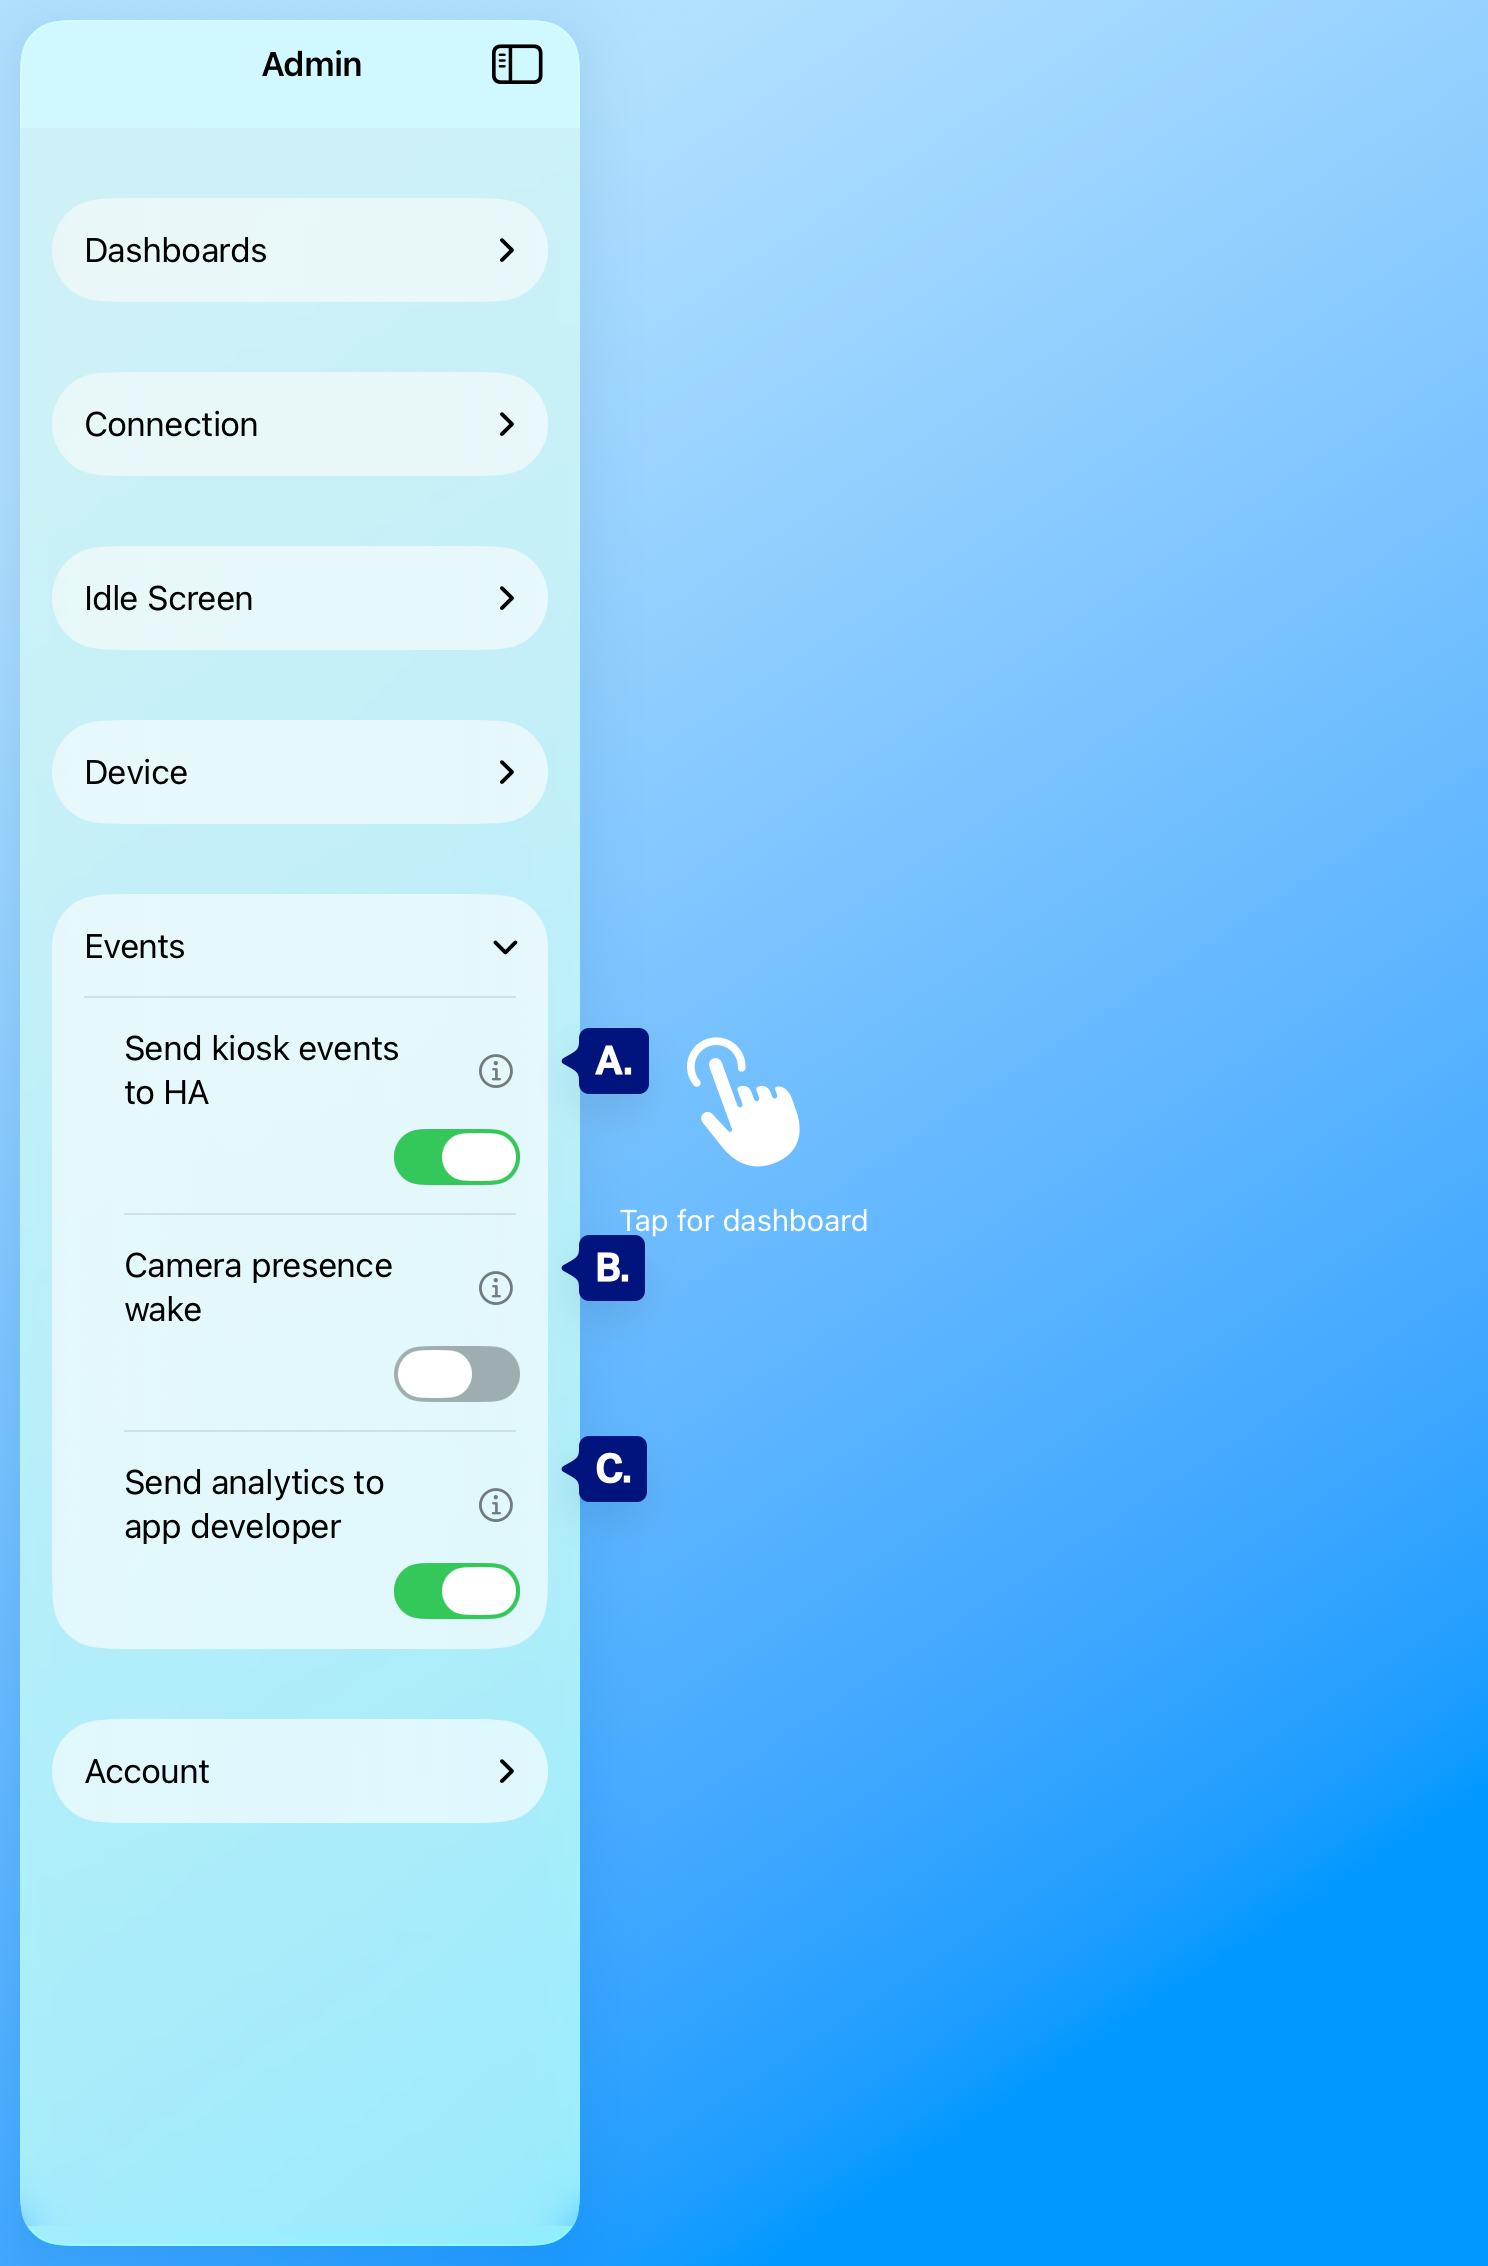
[Screenshot: Admin panel with “Events” section expanded, showing Send kiosk events to HA and Send analytics to app developer.]Optional diagram notation to add to this screenshot:
A. Send kiosk events to HA
B. Camera presence wake
C. Send analytics to app developer.
Detailed guide: Events (send kiosk events to HA, analytics) and Home Assistant integration.
Account #
How-to & information (in-app guides), Transfer settings (export/import via QR), Debug (copy troubleshooting info for support), Pro Features (subscription and what’s included), and Sign out (clear settings and return to onboarding).

[Screenshot: Admin panel with “Account” section expanded, showing How-to & information, Transfer settings, Debug, Pro Features, Sign out.]Optional diagram notation to add to this screenshot:
A. How-to & information
B. Transfer settings
C. Debug
D. Pro Features
E. Sign out.
Detailed guides: How-to and information, Transfer settings (export/import via QR), Debug (troubleshooting info), Pro Features.
Closing the Admin panel #
Tap the dashboard icon (top right of the sidebar) or tap the main content area (right side) to close the panel and return to the dashboard or Idle screen.
Next steps #
- Dashboards — Manage dashboards, Append ?kiosk, zoom, link navigation.
- Connection — Re-authenticate, clear cache.
- Idle screen settings — Timeout, fade to black, background, logo.
- Device & Manage PIN — Keep screen on, hide status bar, PIN.
- Events — Send kiosk events to HA 1.
- Account — How-to, Transfer, Debug, Pro, Sign out.